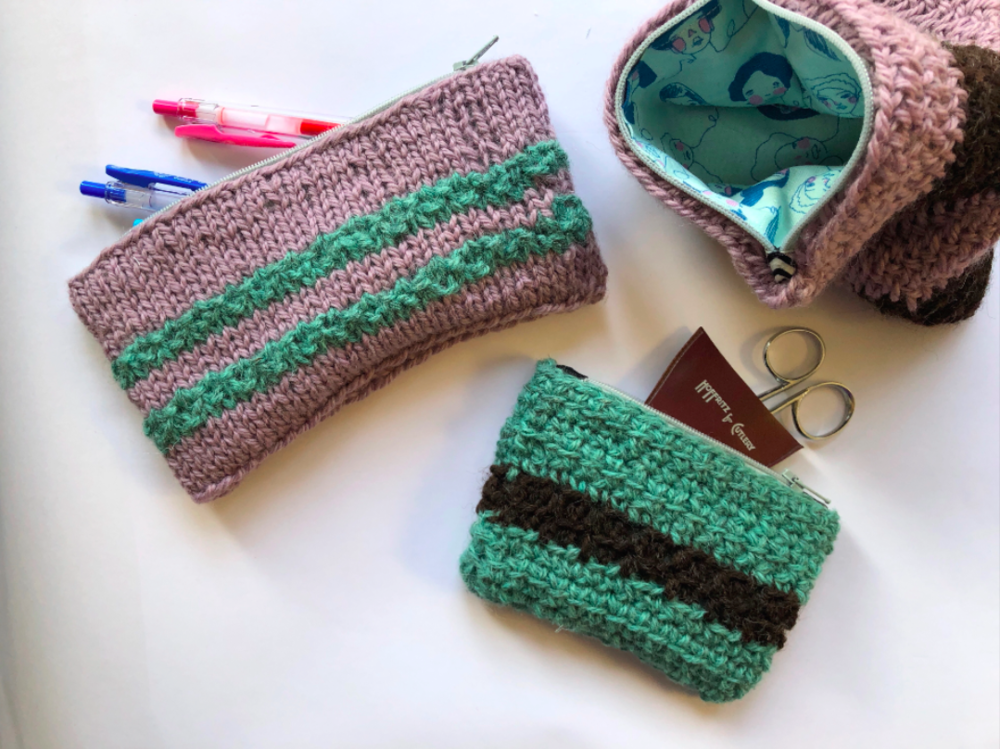
How to add a lining and zipper into a crochet pouch

First thing first: I’m not a sewer/sewist.
That said, I am a perfectionist, so I want my lining and zipper to look as neat as possible in my crochet pouches. And this is the method I’ve found works for me to line a flat pouch and finish with a zipper.
What you’ll need:
A finished pouch (knitted, crocheted, nålebinding, whatever!)
Lining fabric
Accent fabric for zipper tabs (optional)
Zipper
Things to sew, cut, measure, iron, etc
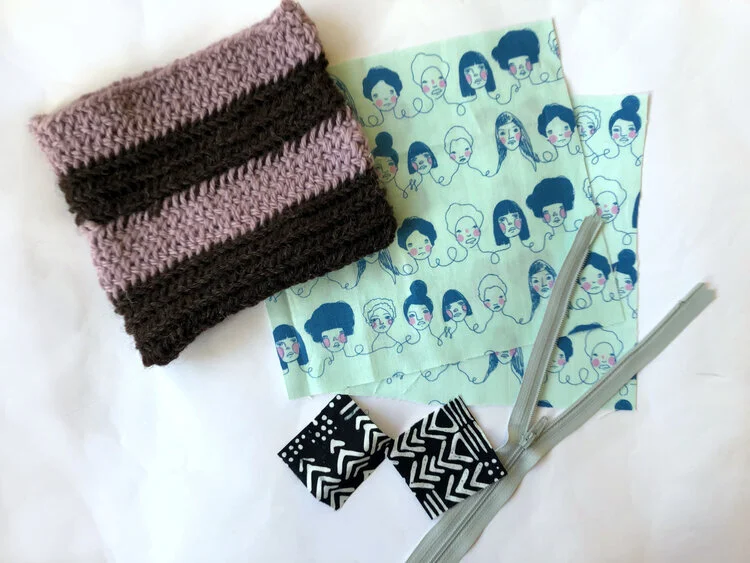
Cut everything
You need two rectangles for the lining. I was very inexact with mine and traced around the pouch, leaving an extra half inch or so around all sides to account for the seam allowance.
For the zipper tabs, cut two 2” x 2” squares in the coordinating fabric, or the main fabric if you are not using a coordinating fabric. You may want a smaller tab if you are lining a very small pouch. Special thanks to Sew Mama Sew for enlightening me to zipper tabs.
Trim the zipper to the length of the pouch opening. Be sure to trim both sides, as you do not want to have a lot of non-zipper on either side.
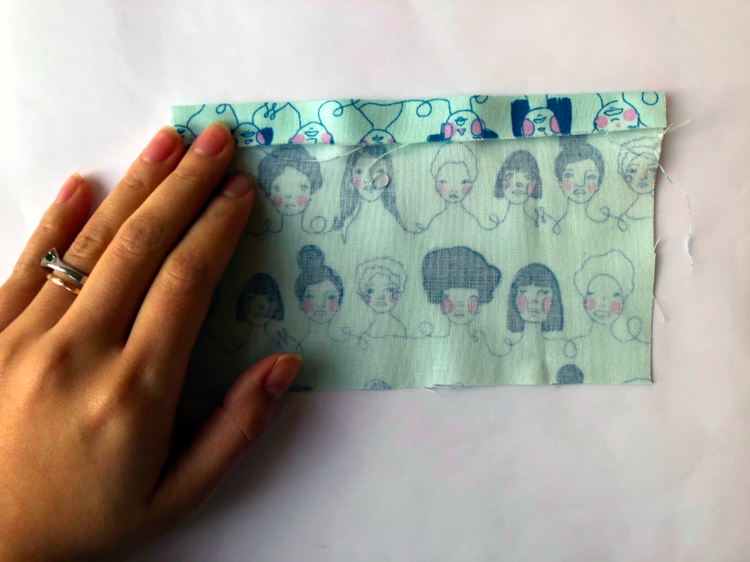
Press/iron the fabric
The top edge of the lining rectangles will be sewn onto the zipper. Create a tidy edge by folding about a half inch of the fabric down in a straight line. Press with an iron.
Sew, sew, sew!
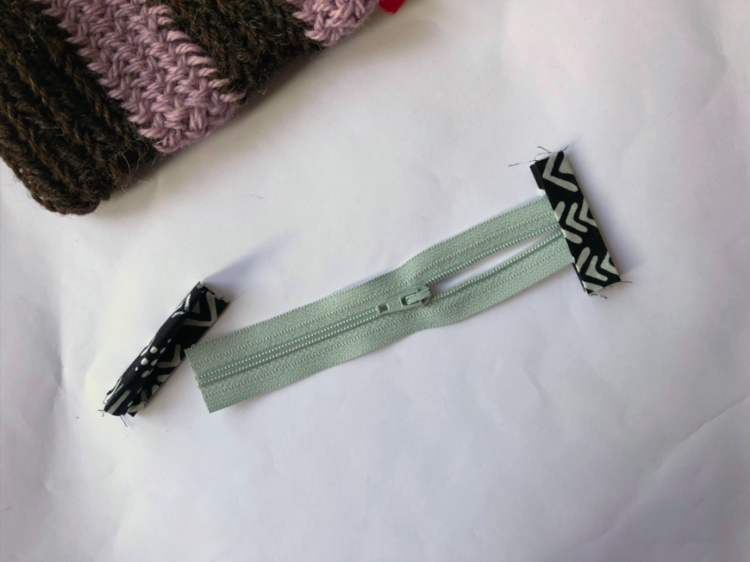
Fold the zipper tab squares in half, press with the iron and unfold. Fold into quarters by folding each end toward the center crease, press with the iron.
Insert the each end of the zipper into the center crease of the zipper tab and sew zipper into the tab (careful of the teeth!). The finished length of your zipper with tabs sewn on should fit into the opening of your pouch perfectly.
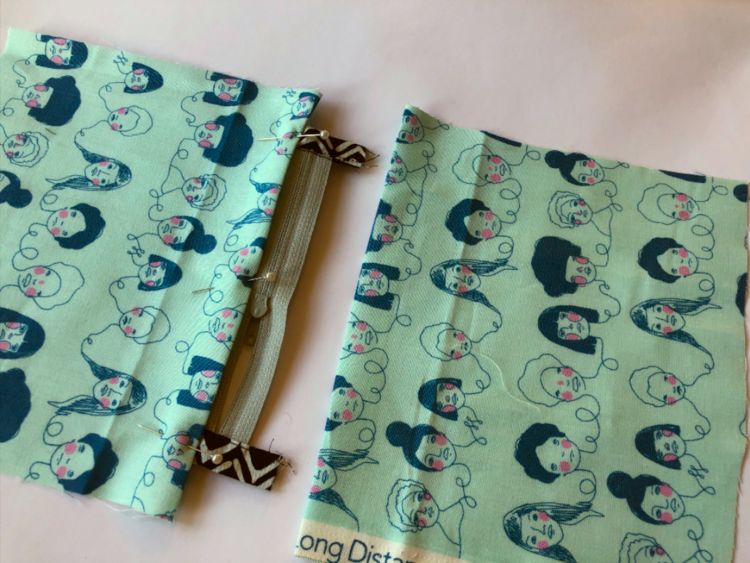
Pin the pressed edge of the lining fabric to the back of the zipper. You will be sewing into the back side of the zipper with the right side of the fabric facing up.
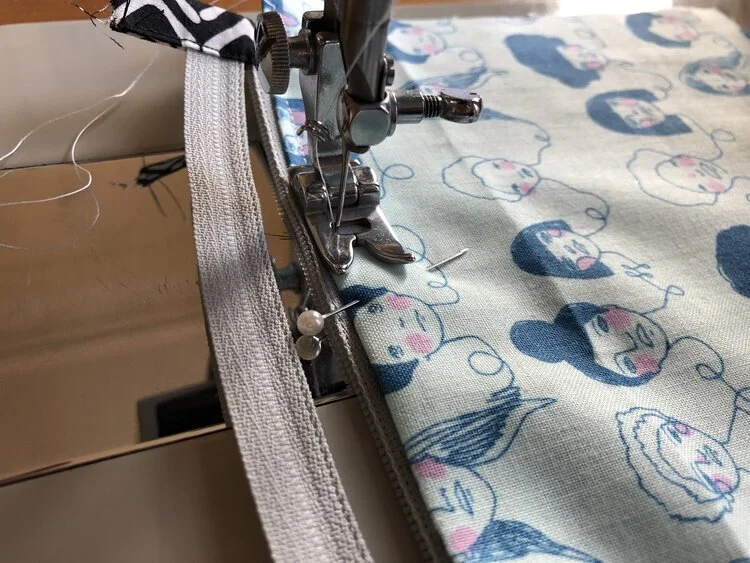
Repeat with other side of zipper and second piece of lining fabric.
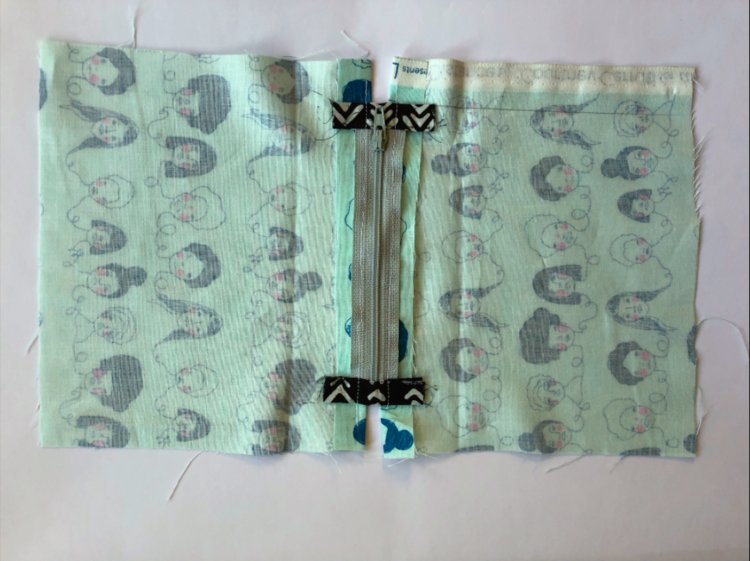
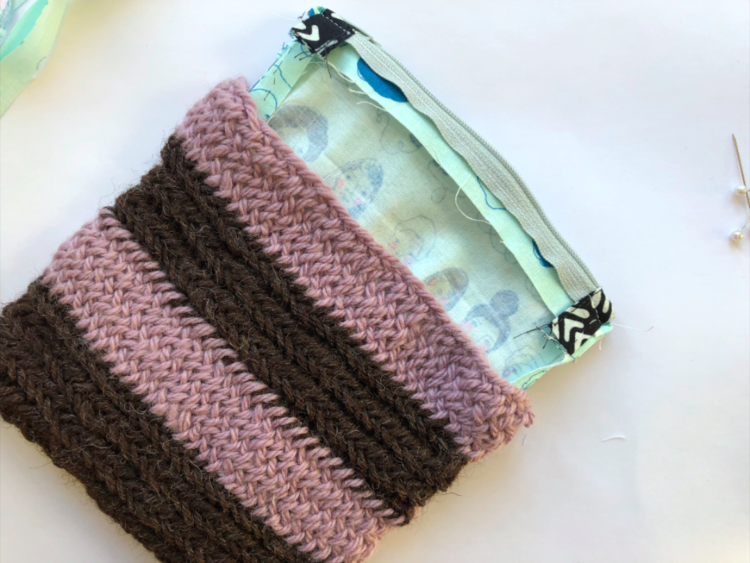
Here’s the right side of the zipper.
Finish the lining by sewing the sides and bottom with right sides together. Sew just on the outside of your zipper tabs so they are not sewn into the seams.
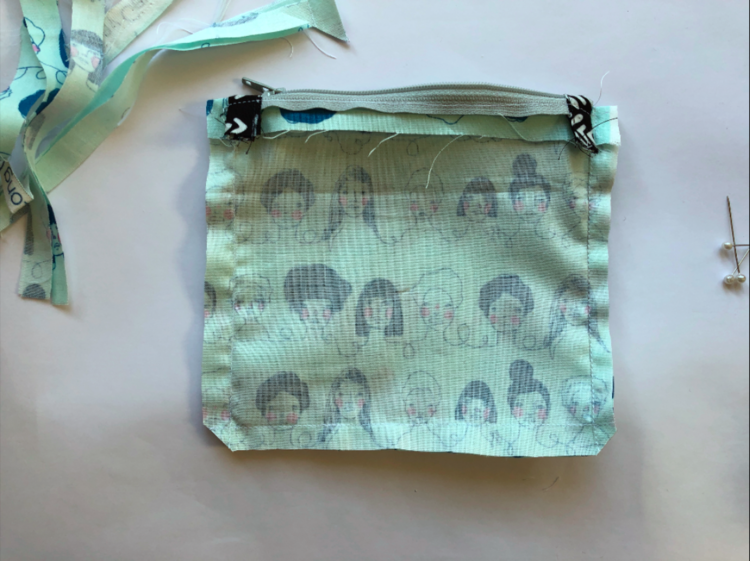
Sew lining into pouch
You may want to press your seams down, but be sure you try to keep the zipper tabs on the outside.
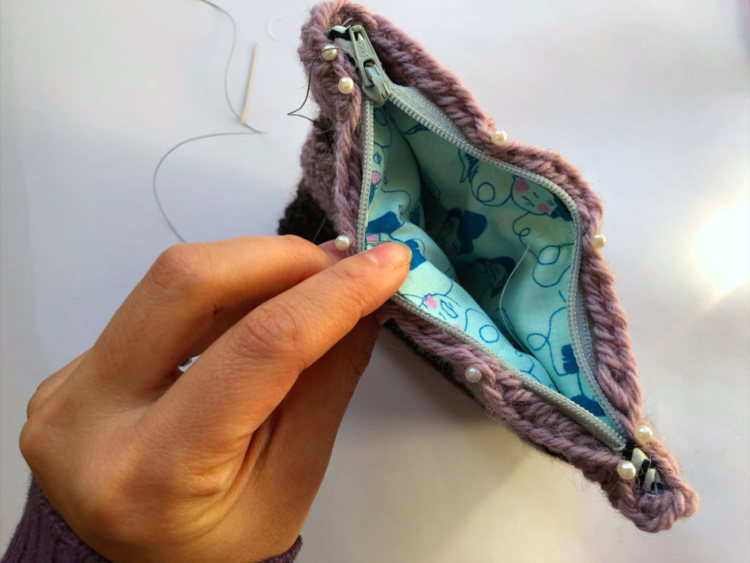
Pin the lining into your pouch and sew together by hand.
Finished!