Crochet window rainbows — spreading hope during Coronavirus
As a symbol, the window rainbows have taken on a lot of different meanings. It’s a message of hope from our little ones. The rainbows encourage us to stay strong in our collective efforts. Continue staying home. Thank our key workers. Clap for the NHS. There will be an after. And even during, we can be okay.
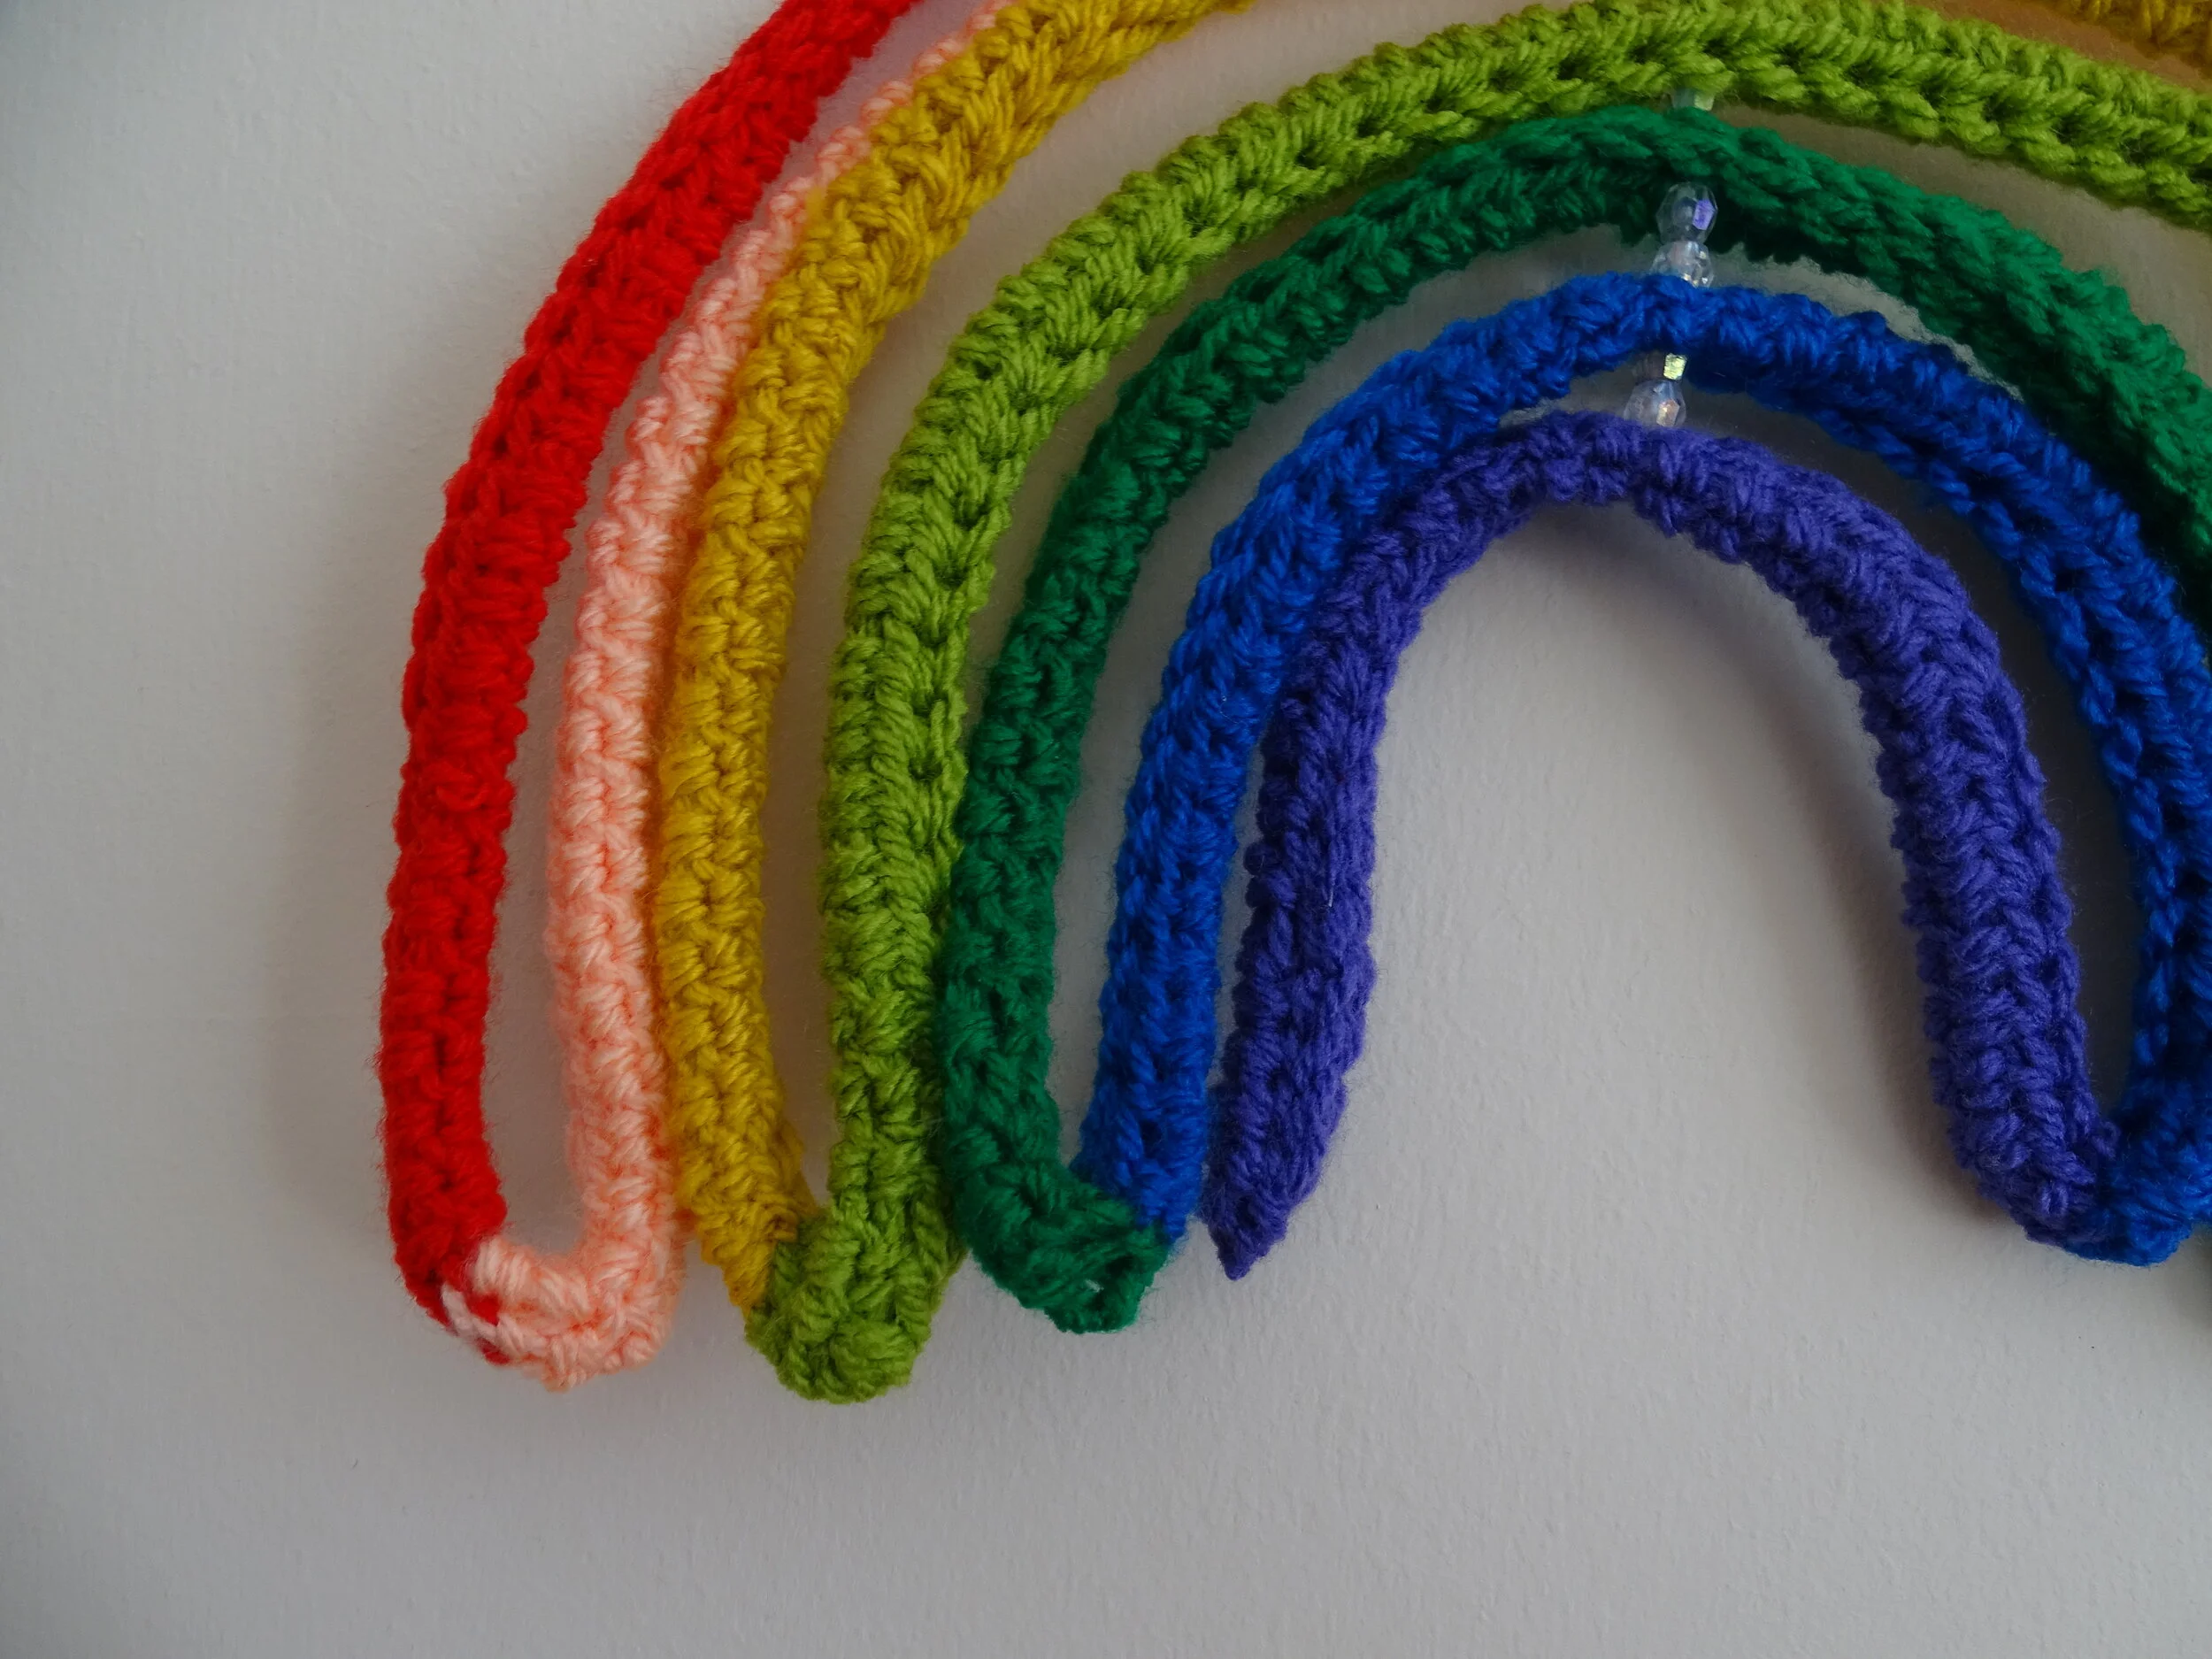
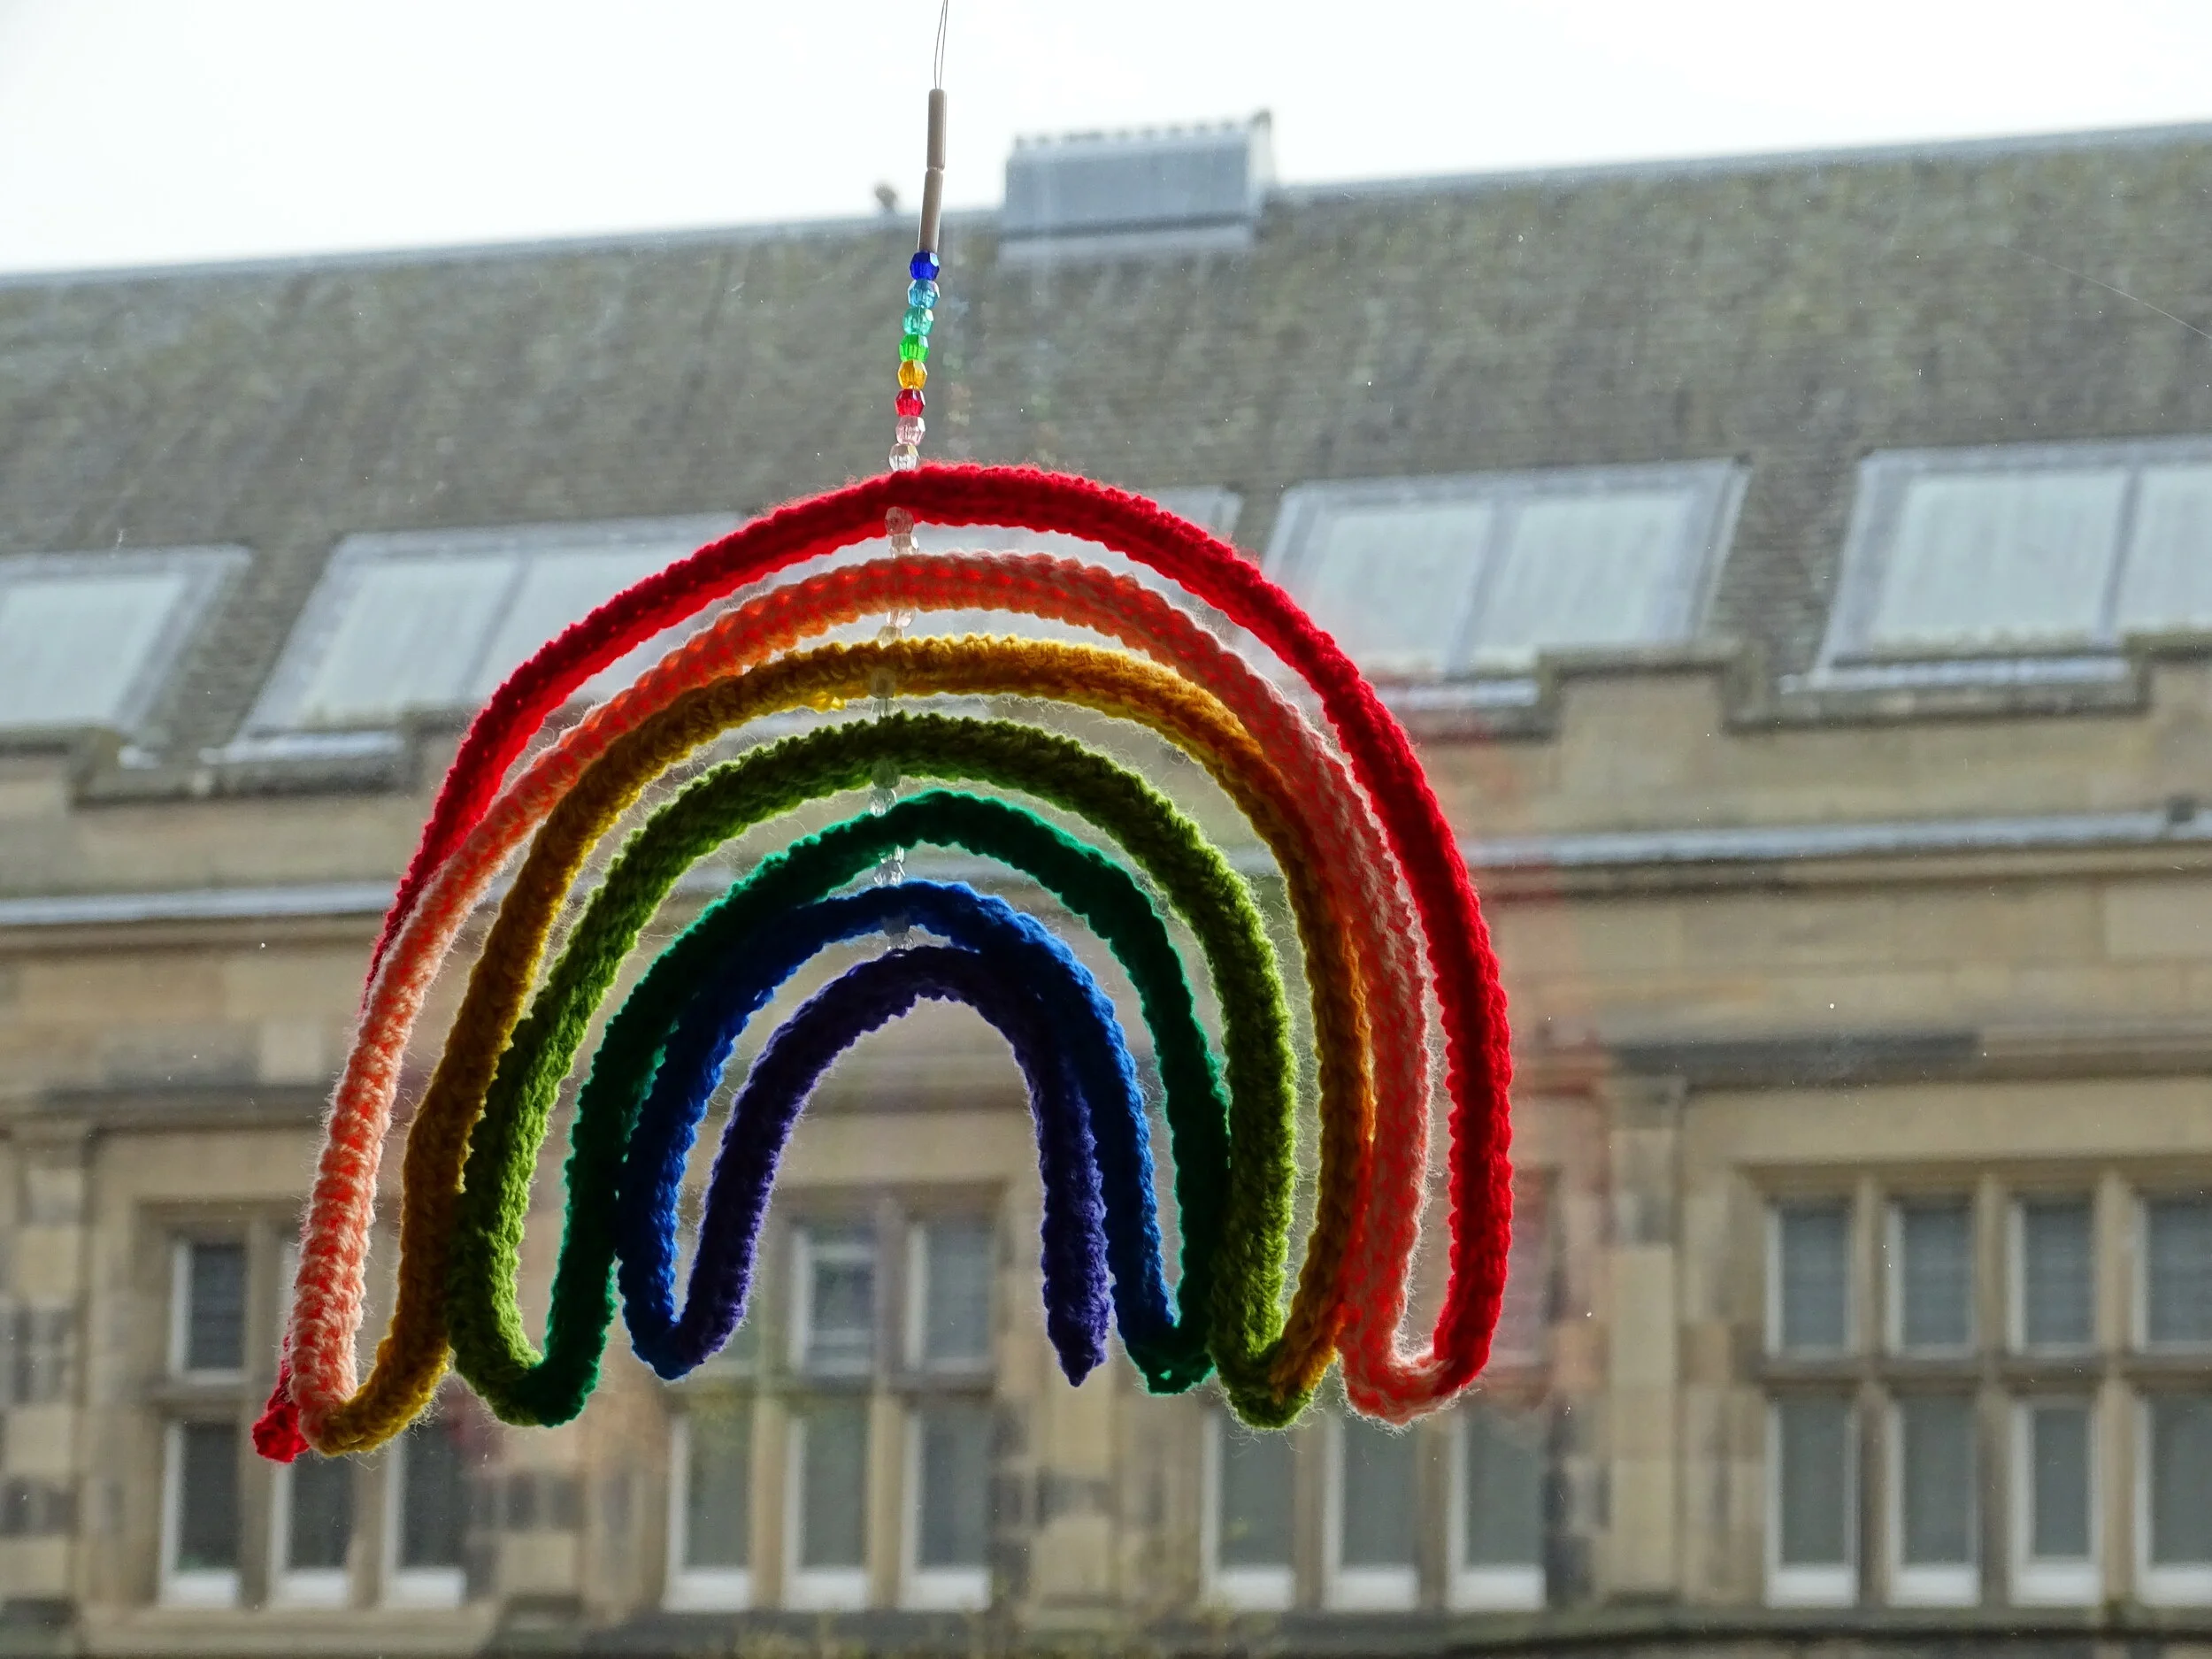
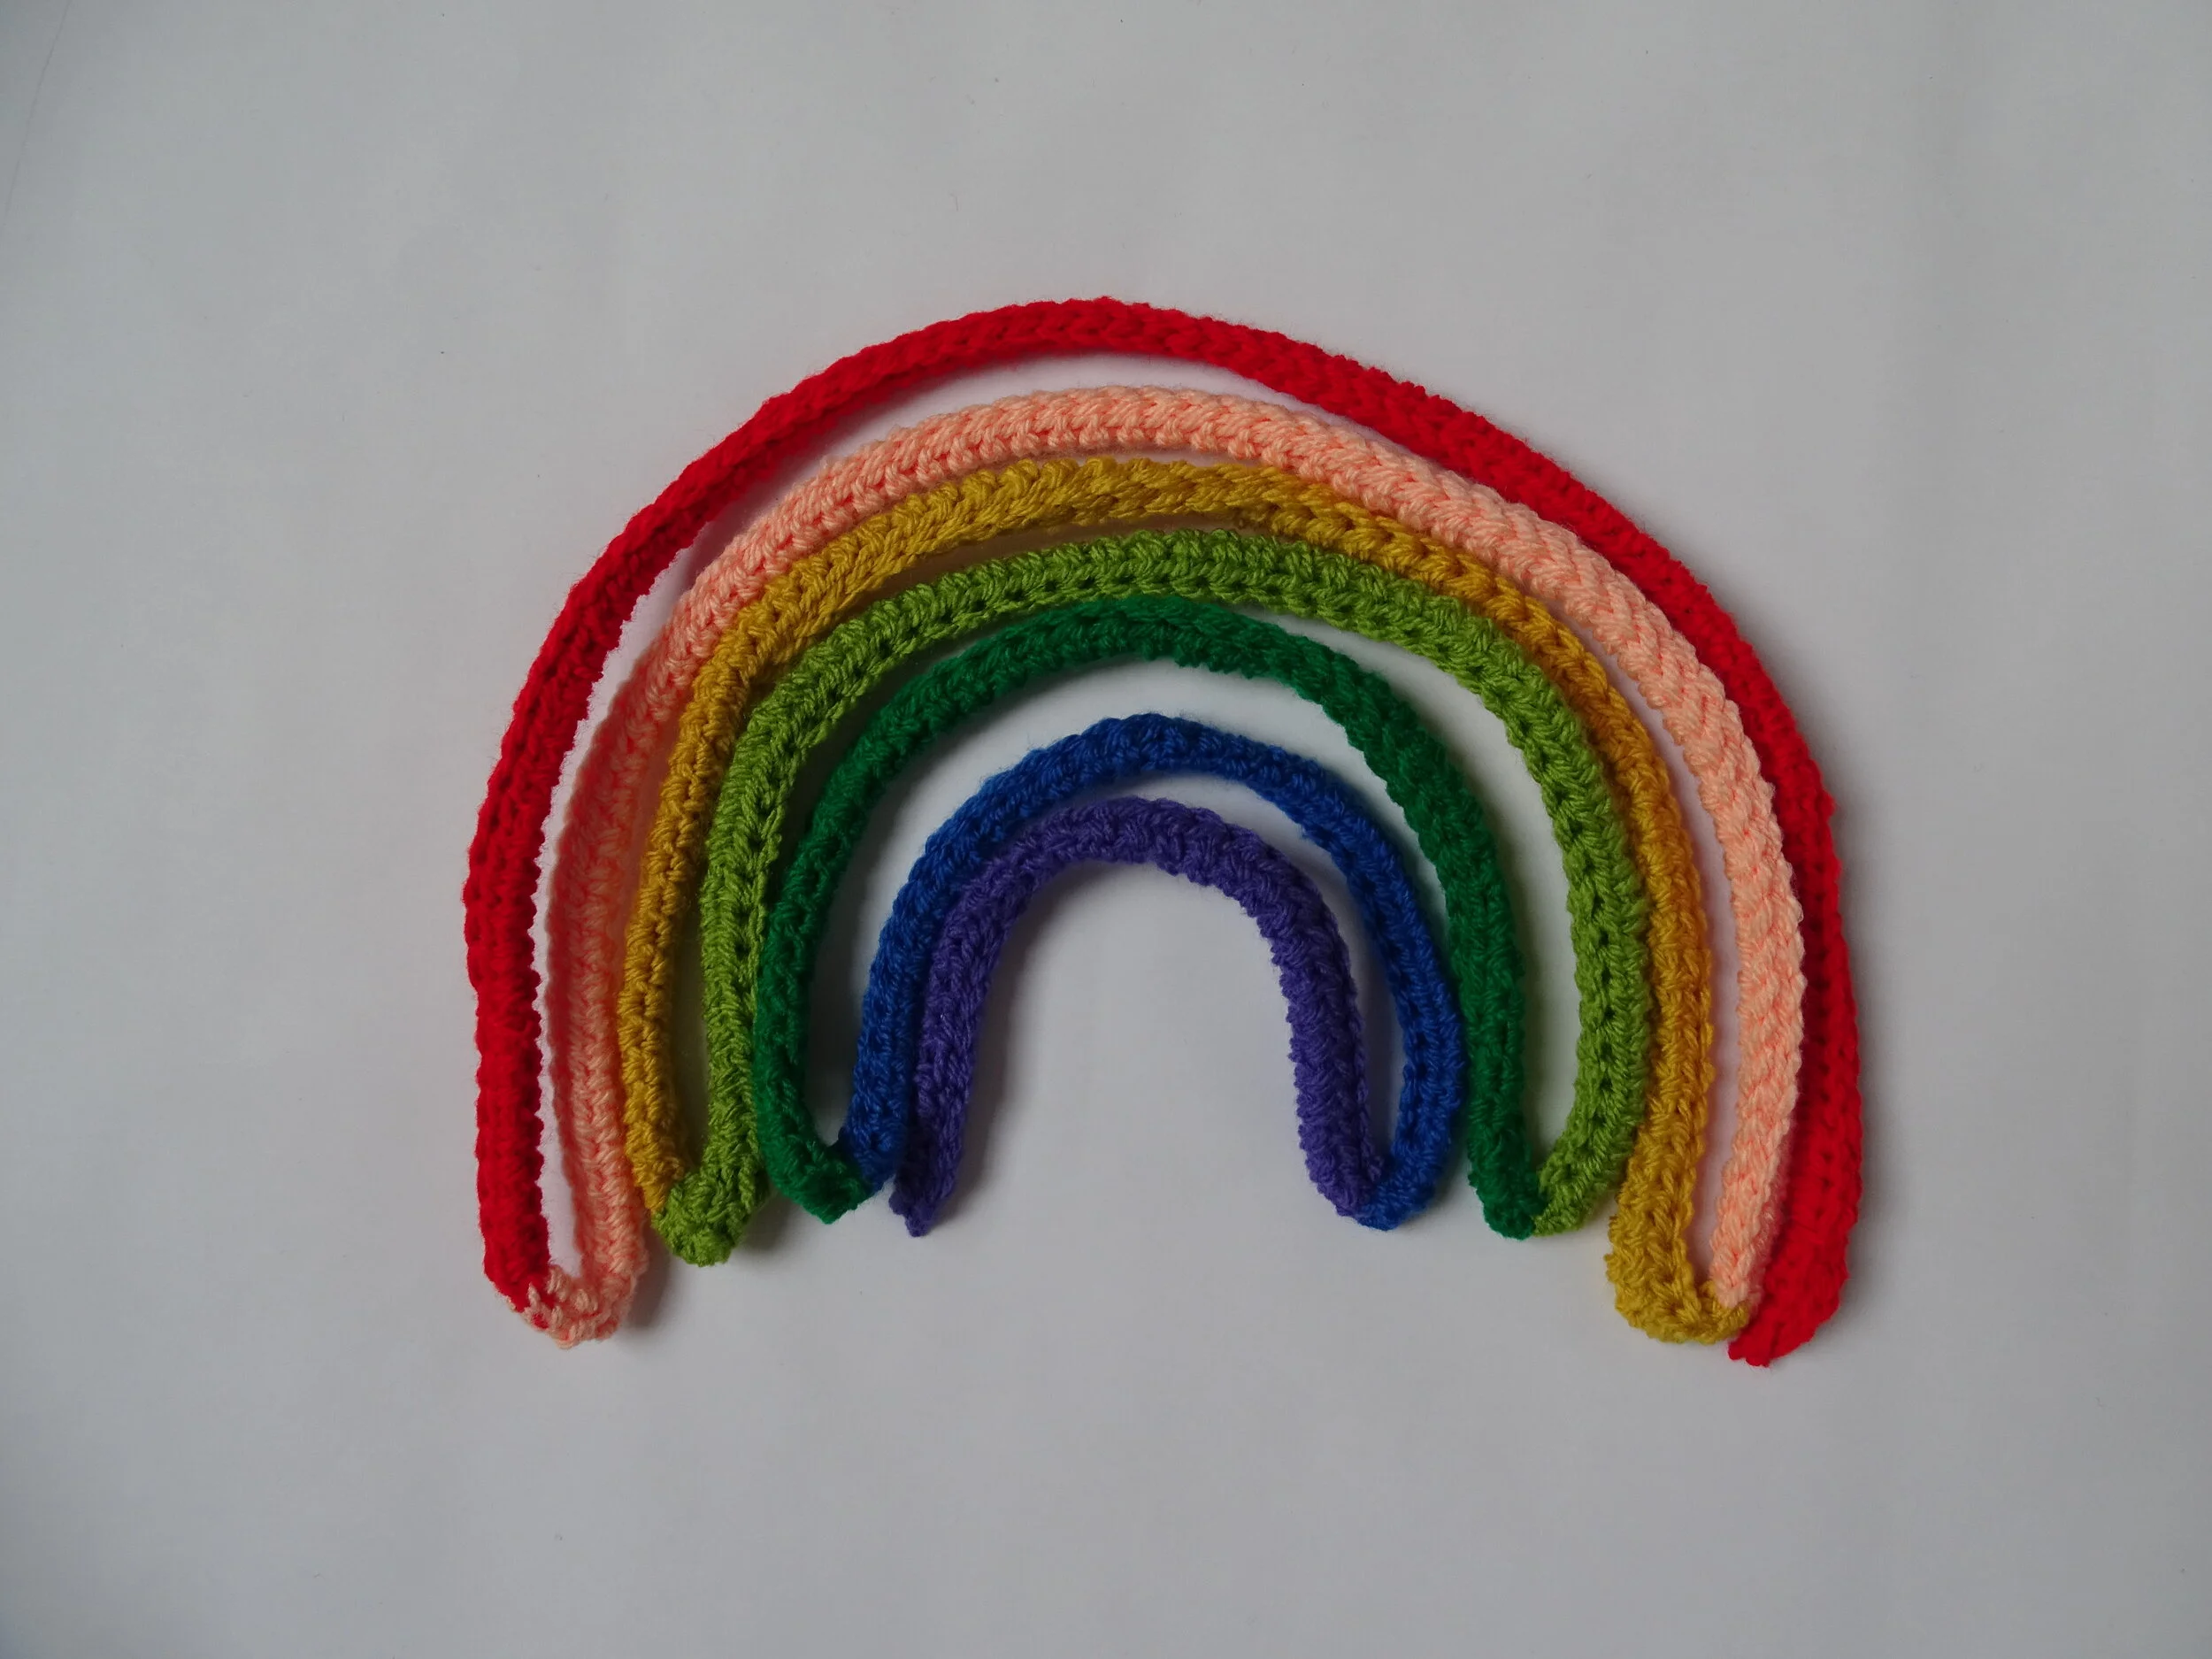
Today I’m hanging my message of hope in the window. My own crocheted squiggly rainbow.
If I’m being totally honest, this rainbow was tricky to make! But I’ll provide some general ‘how to’ details in case you’re interested in making one too. The basic idea of the squiggly rainbow is to make a very long multi-colored tube which can be shaped into a rainbow using wire.
Because my squiggle rainbow is a bit of an undertaking, I’m also sharing other crochet rainbow patterns for you to make! Or you can just jump straight to the squiggle rainbow pattern recipe.
Crochet rainbows to make

Cherry Heart - Free, with extra instructions for wee clouds and a cheerful sun

The Stitch Foundry - Free, a variety of stitches makes for a really playful rainbow

My Crochet Place - Free, taking it back to the OG granny stitch

Knitting Sheep - Free, available in English and Spanish, and there’s a video tutorial!

Alison Russell’s Craft Channel - Free, video tutorial for this perfectly arced rainbow

Melu Crochet - Free, includes instructions to hang from a wooden dowel

CCrochet Shoppe - A super cool, bobbly rainbow with fun tassels
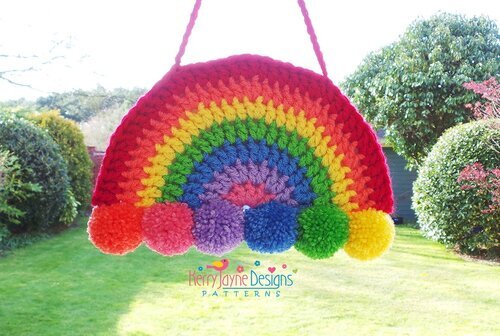
Kerry Jayne Designs- Free and simple, an excellent rainbow for beginners

PoppieJoeandCo - This textured rainbow cushion could totally be propped up into a window!
Make your own squiggle rainbow
Materials you’ll need:
Different colored yarns (I used a mix of DK and Aran acrylic yarns)
Crochet hook (I used 5mm)
Tapestry needle to weave in ends
Wire (I used this .8mm wire)
Needle and thread
Beads
Abbreviations:
ch - chain
hdc - half double crochet (also half treble crochet in UK terminology)
yo - yarn over
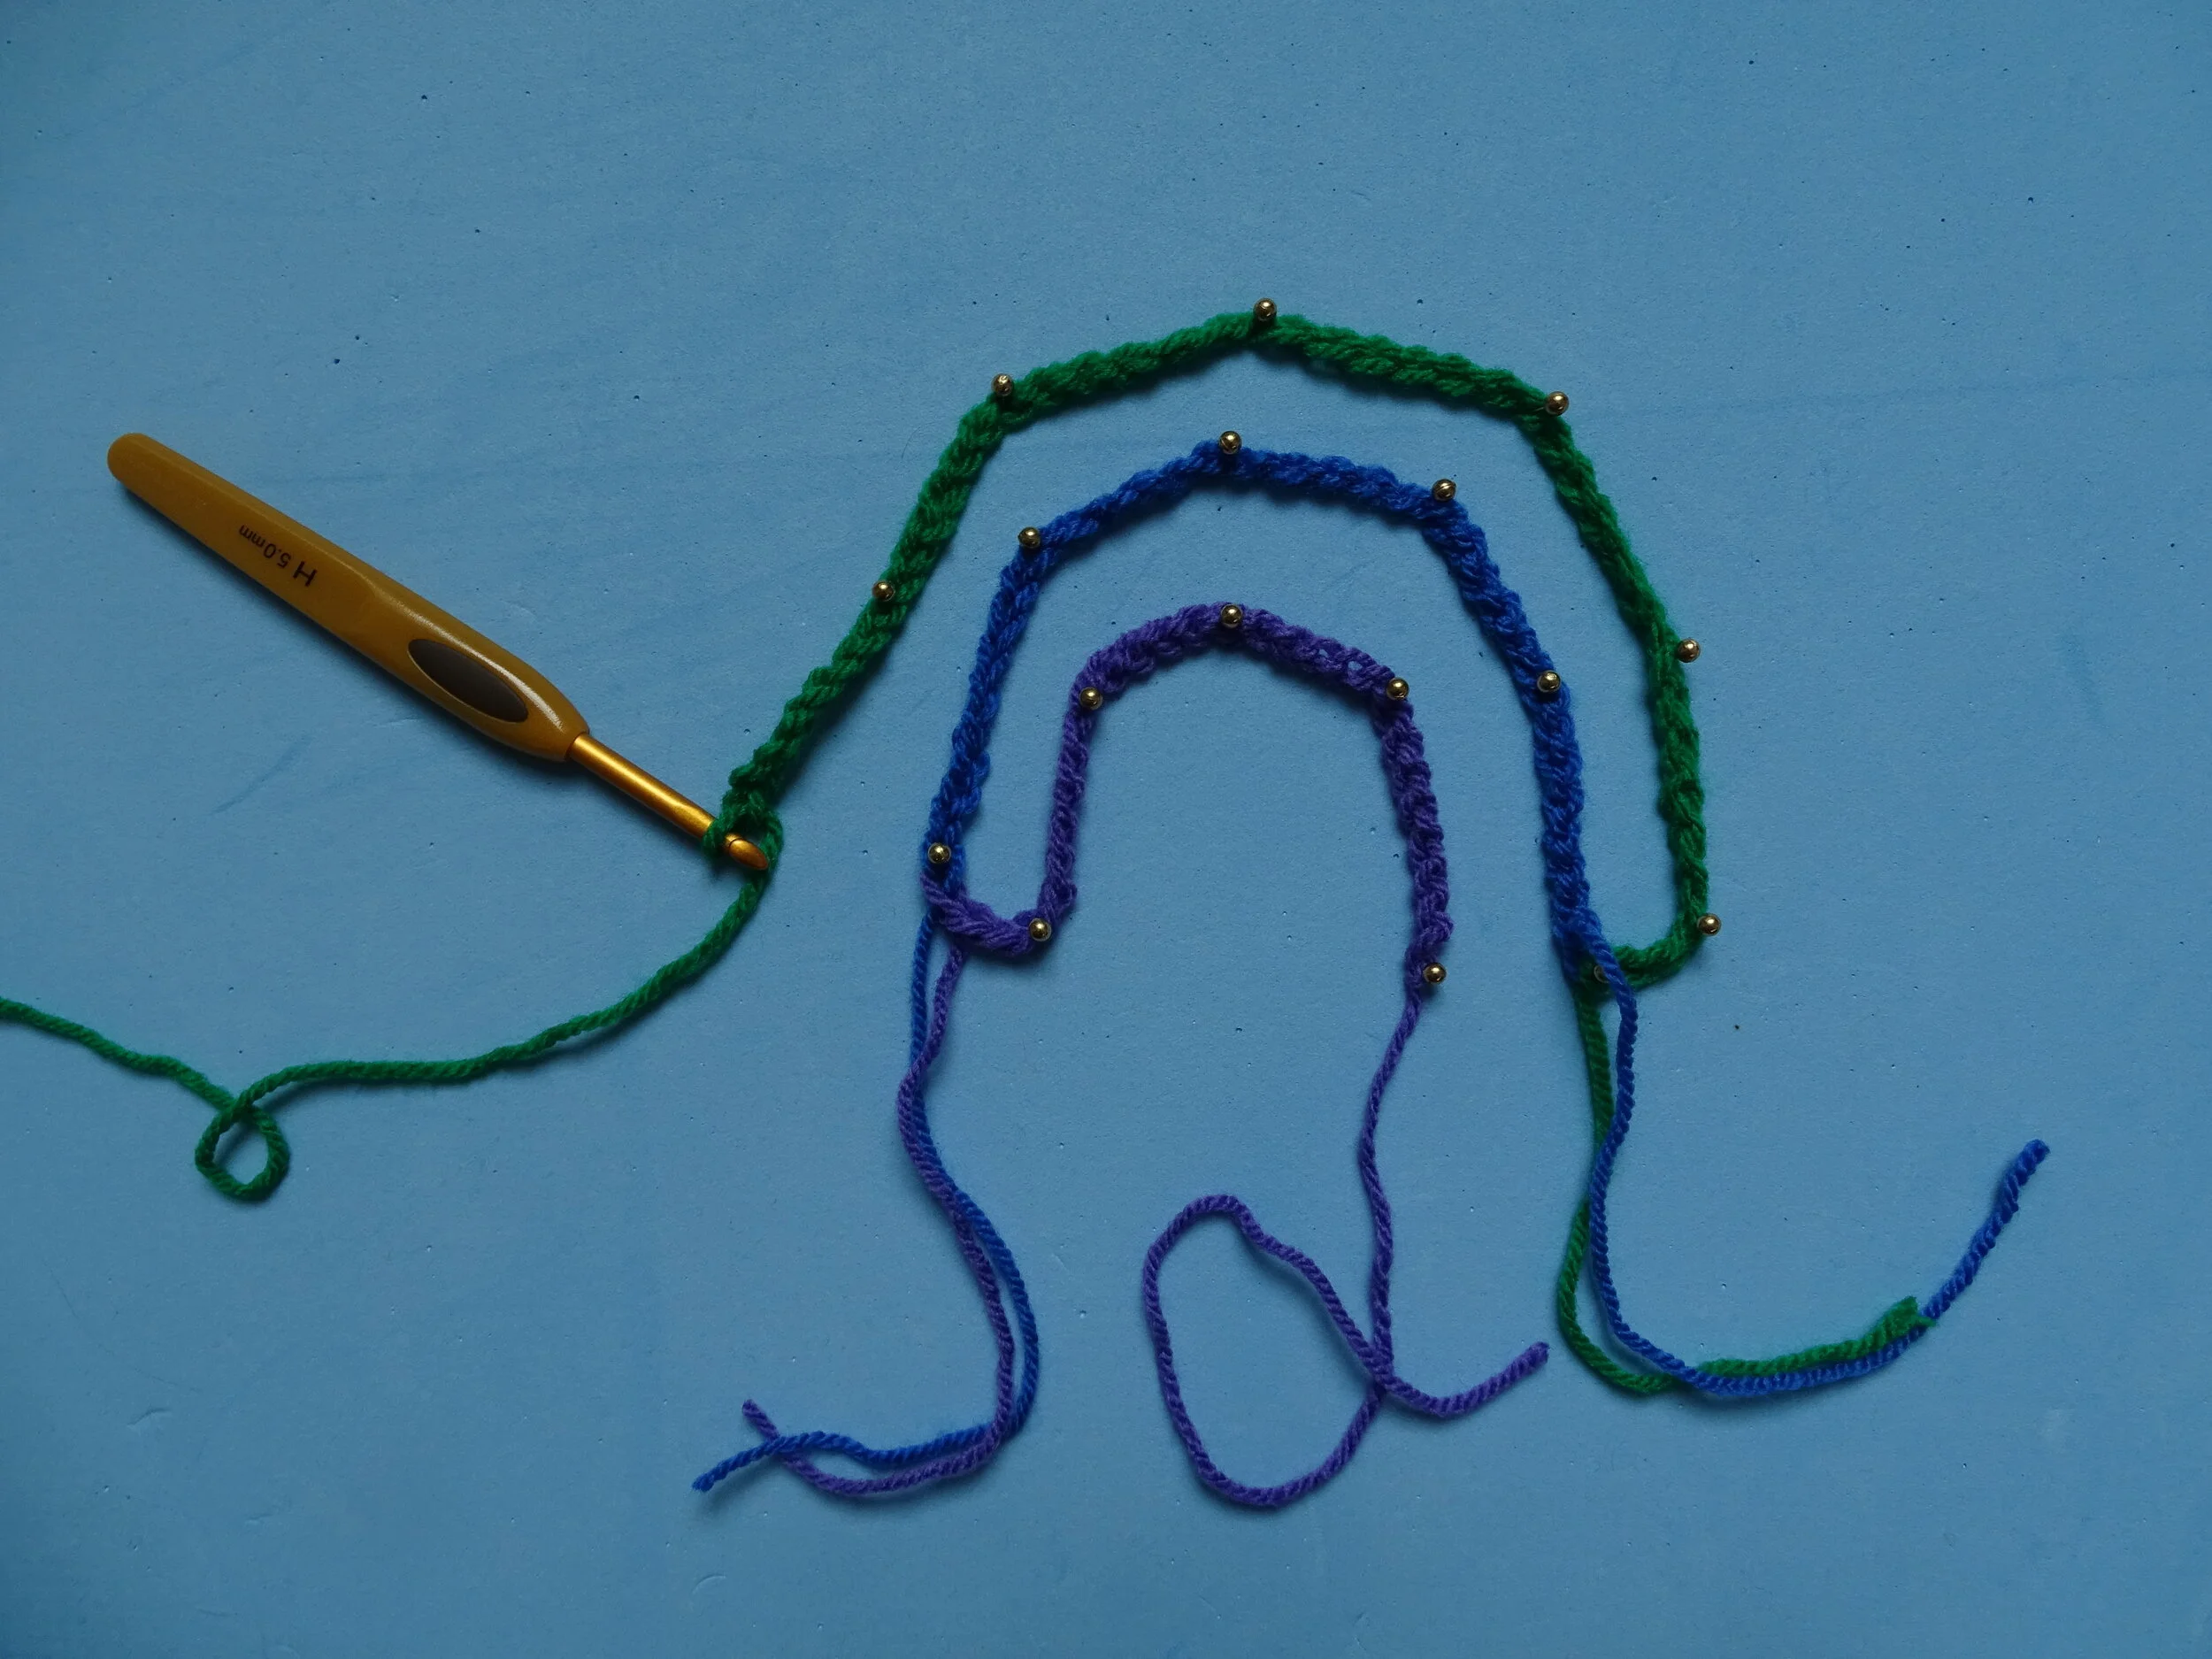
Begin with the inside color (in my case, purple) and chain to desired length (in my case, ch 28). Change to second color and continue chain to desired length. (Note: When changing to new color, you can cut the old yarn and gently tie the two ends together to secure your color change). Change to third color and continue chain to desired length. Continue until all colors are used and cut yarn.
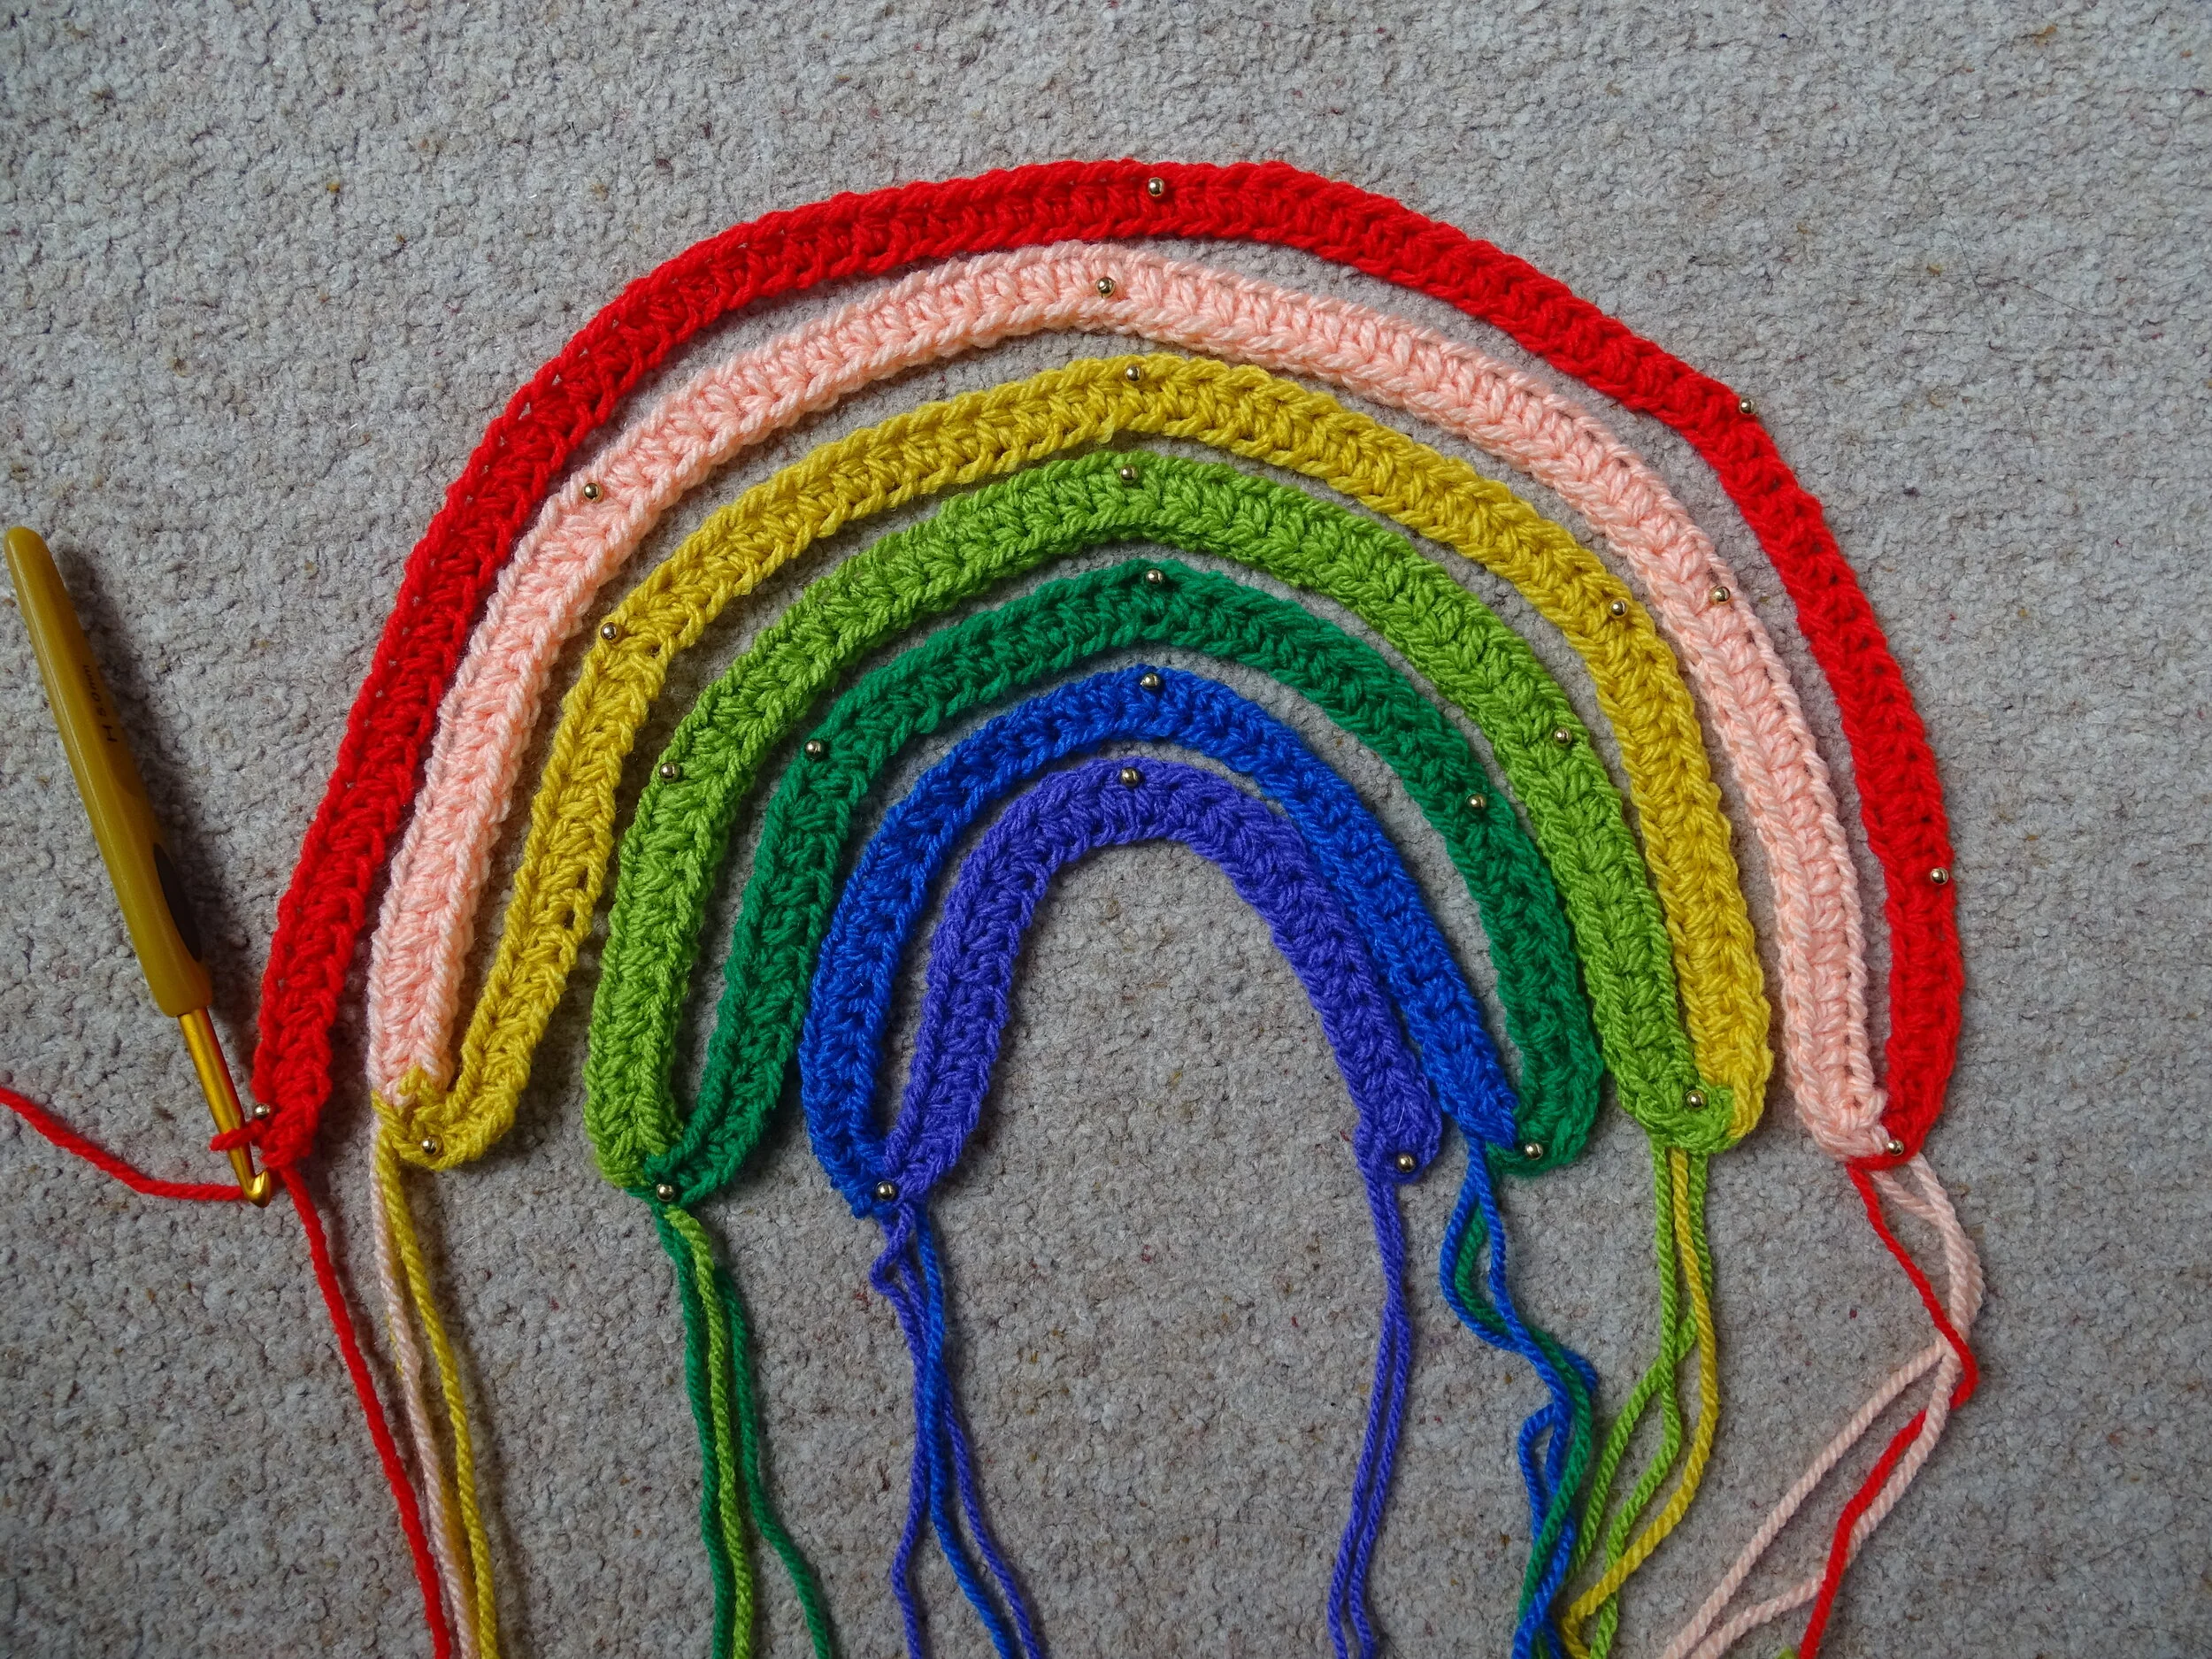
To get the length of the chain correct, I frequently previewed the rainbow by pinning the chain to a mat, leaving a bit of space between each color.
Now, going back to the beginning of your chain, attach the first color into the first chain.
Ch 2 (counts as hdc), 2 hdc in first ch, hdc across to end of chain. Change the color of your yarn to whatever color the chain is, cutting the old yarn as you go. 3 hdc in the last ch and do not cut final yarn.
The chart below explains how your work should progress (with a lot less chains, of course!)

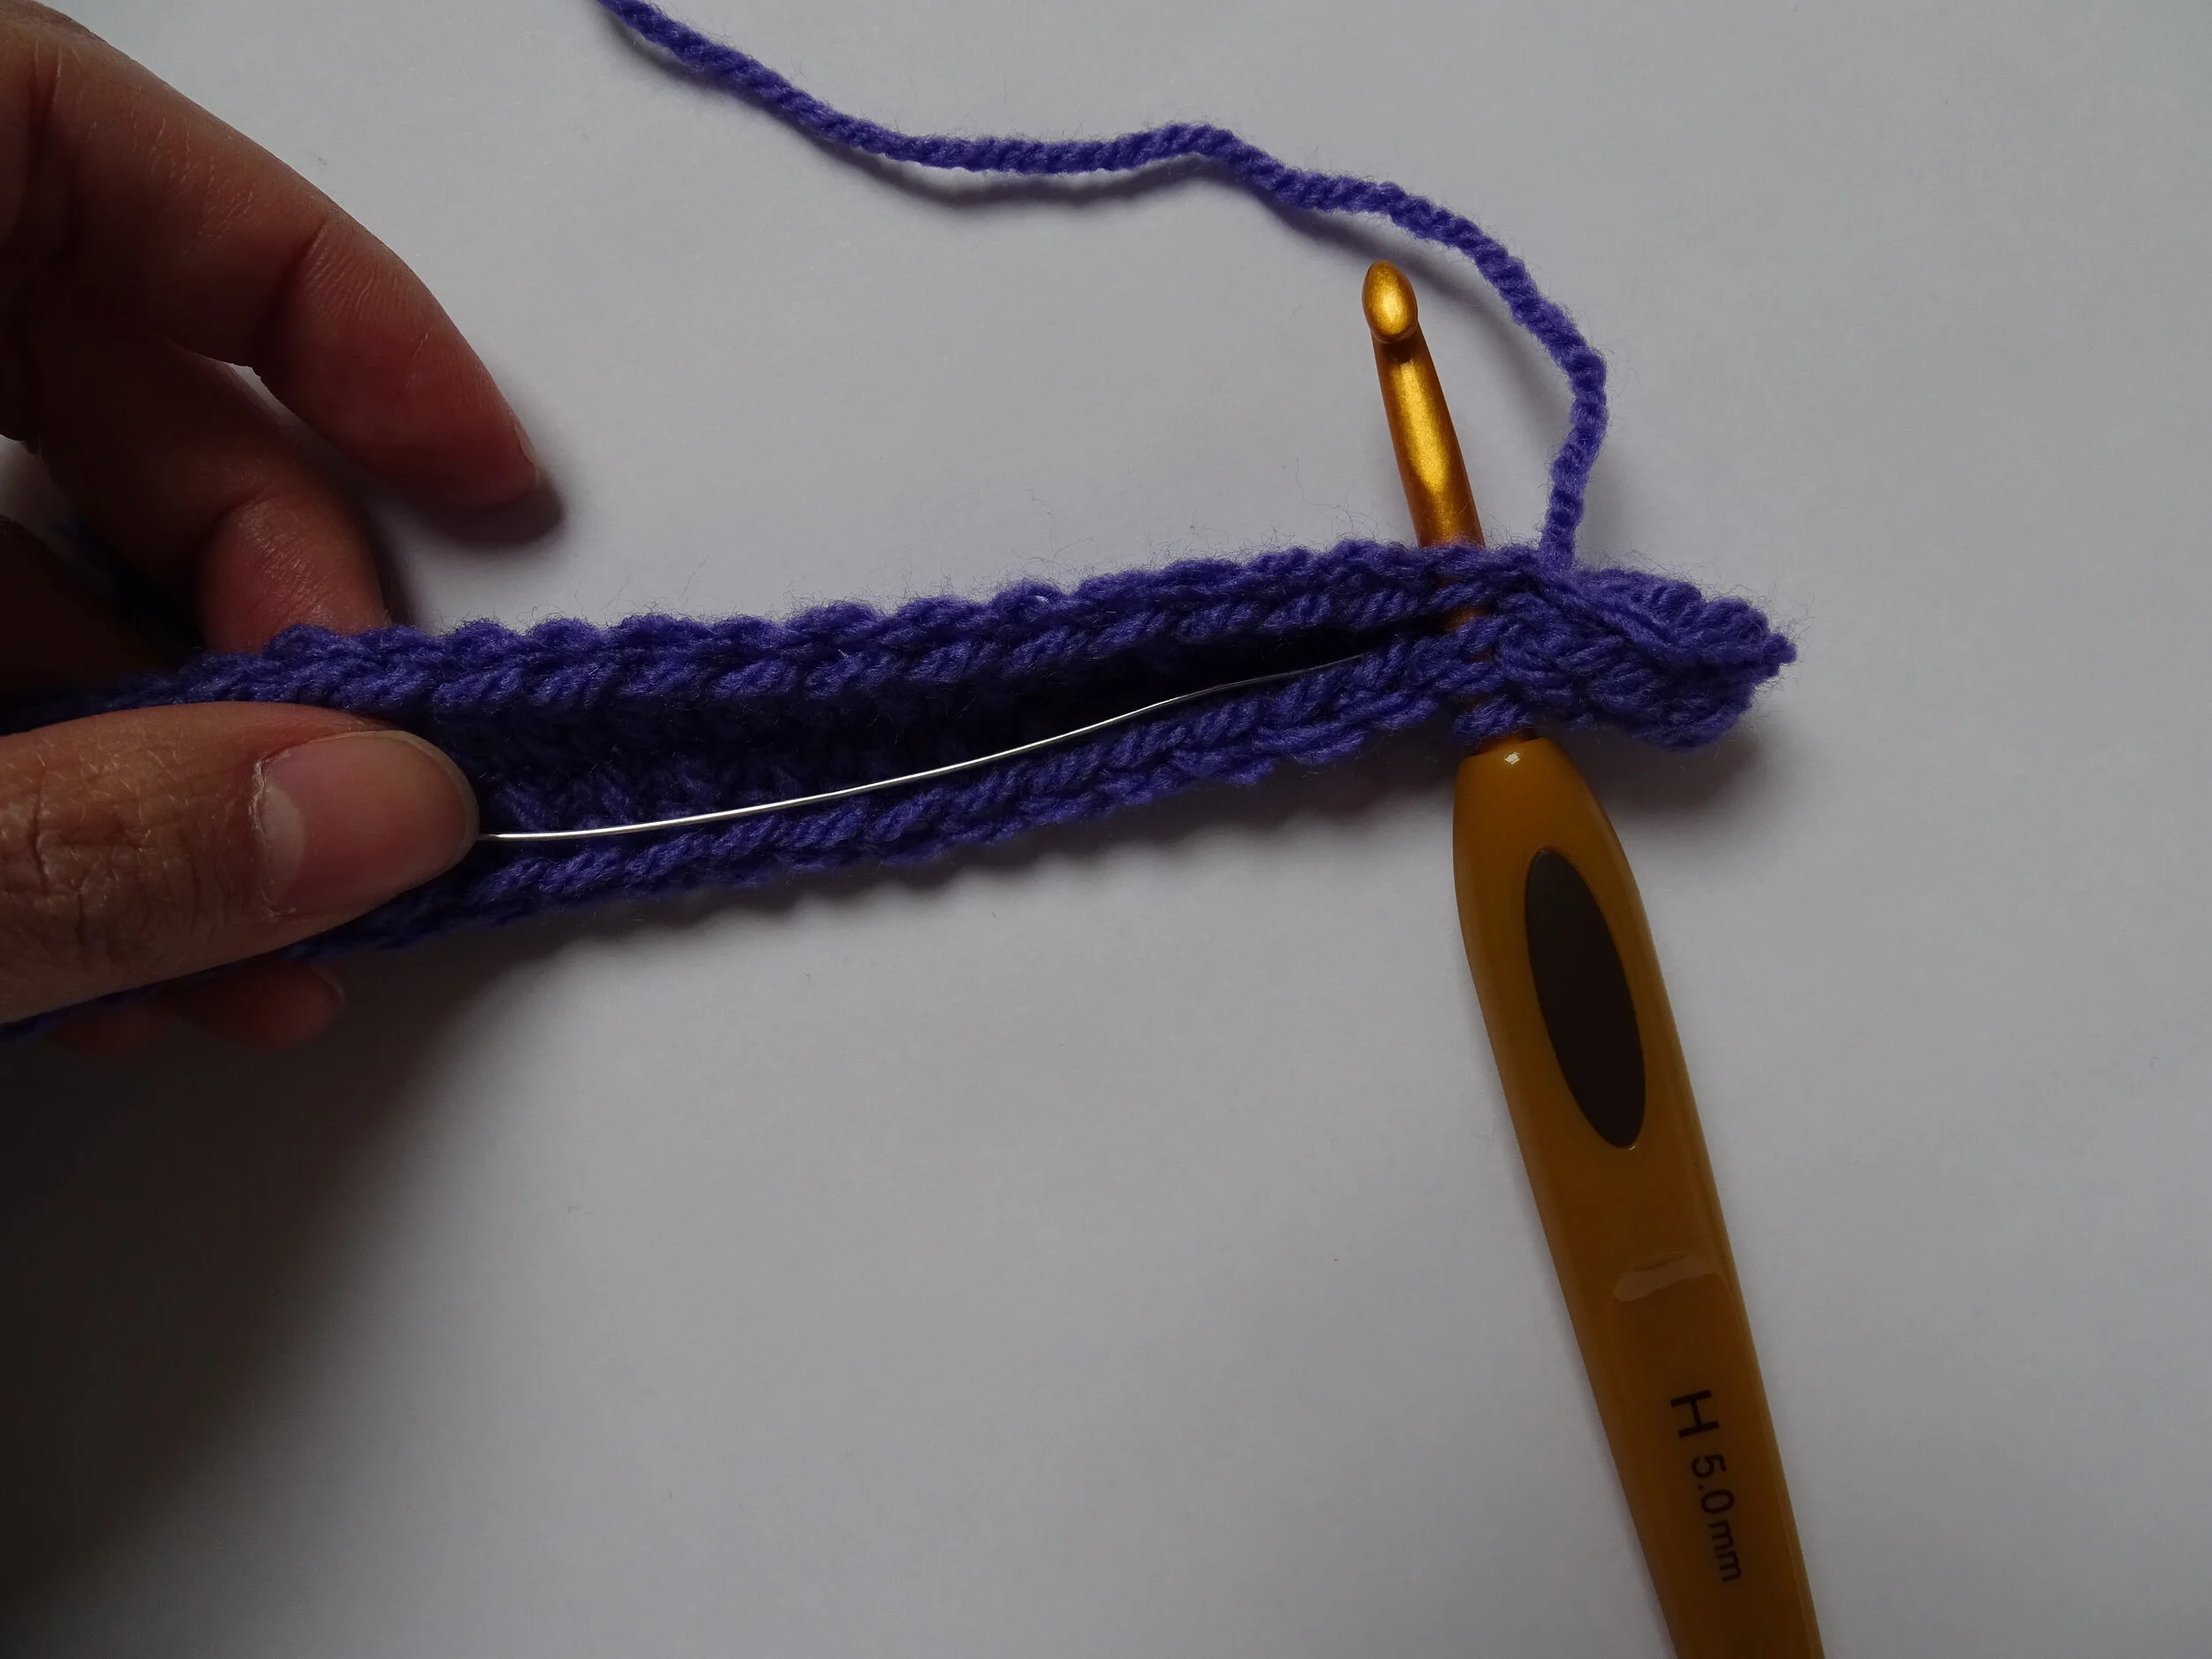
Time to add the wire! Attach the wire by hooking it into the yarn on the same side as your hook. Twist to secure.
To make the tube, we will fold the piece along the foundation chain so that the wrong side is now on the outside. Slip stitch through both sides with the wire inside. Continue slip stitches, changing your yarn whenever the color changes. Continue cutting your yarn as well when you change colors.
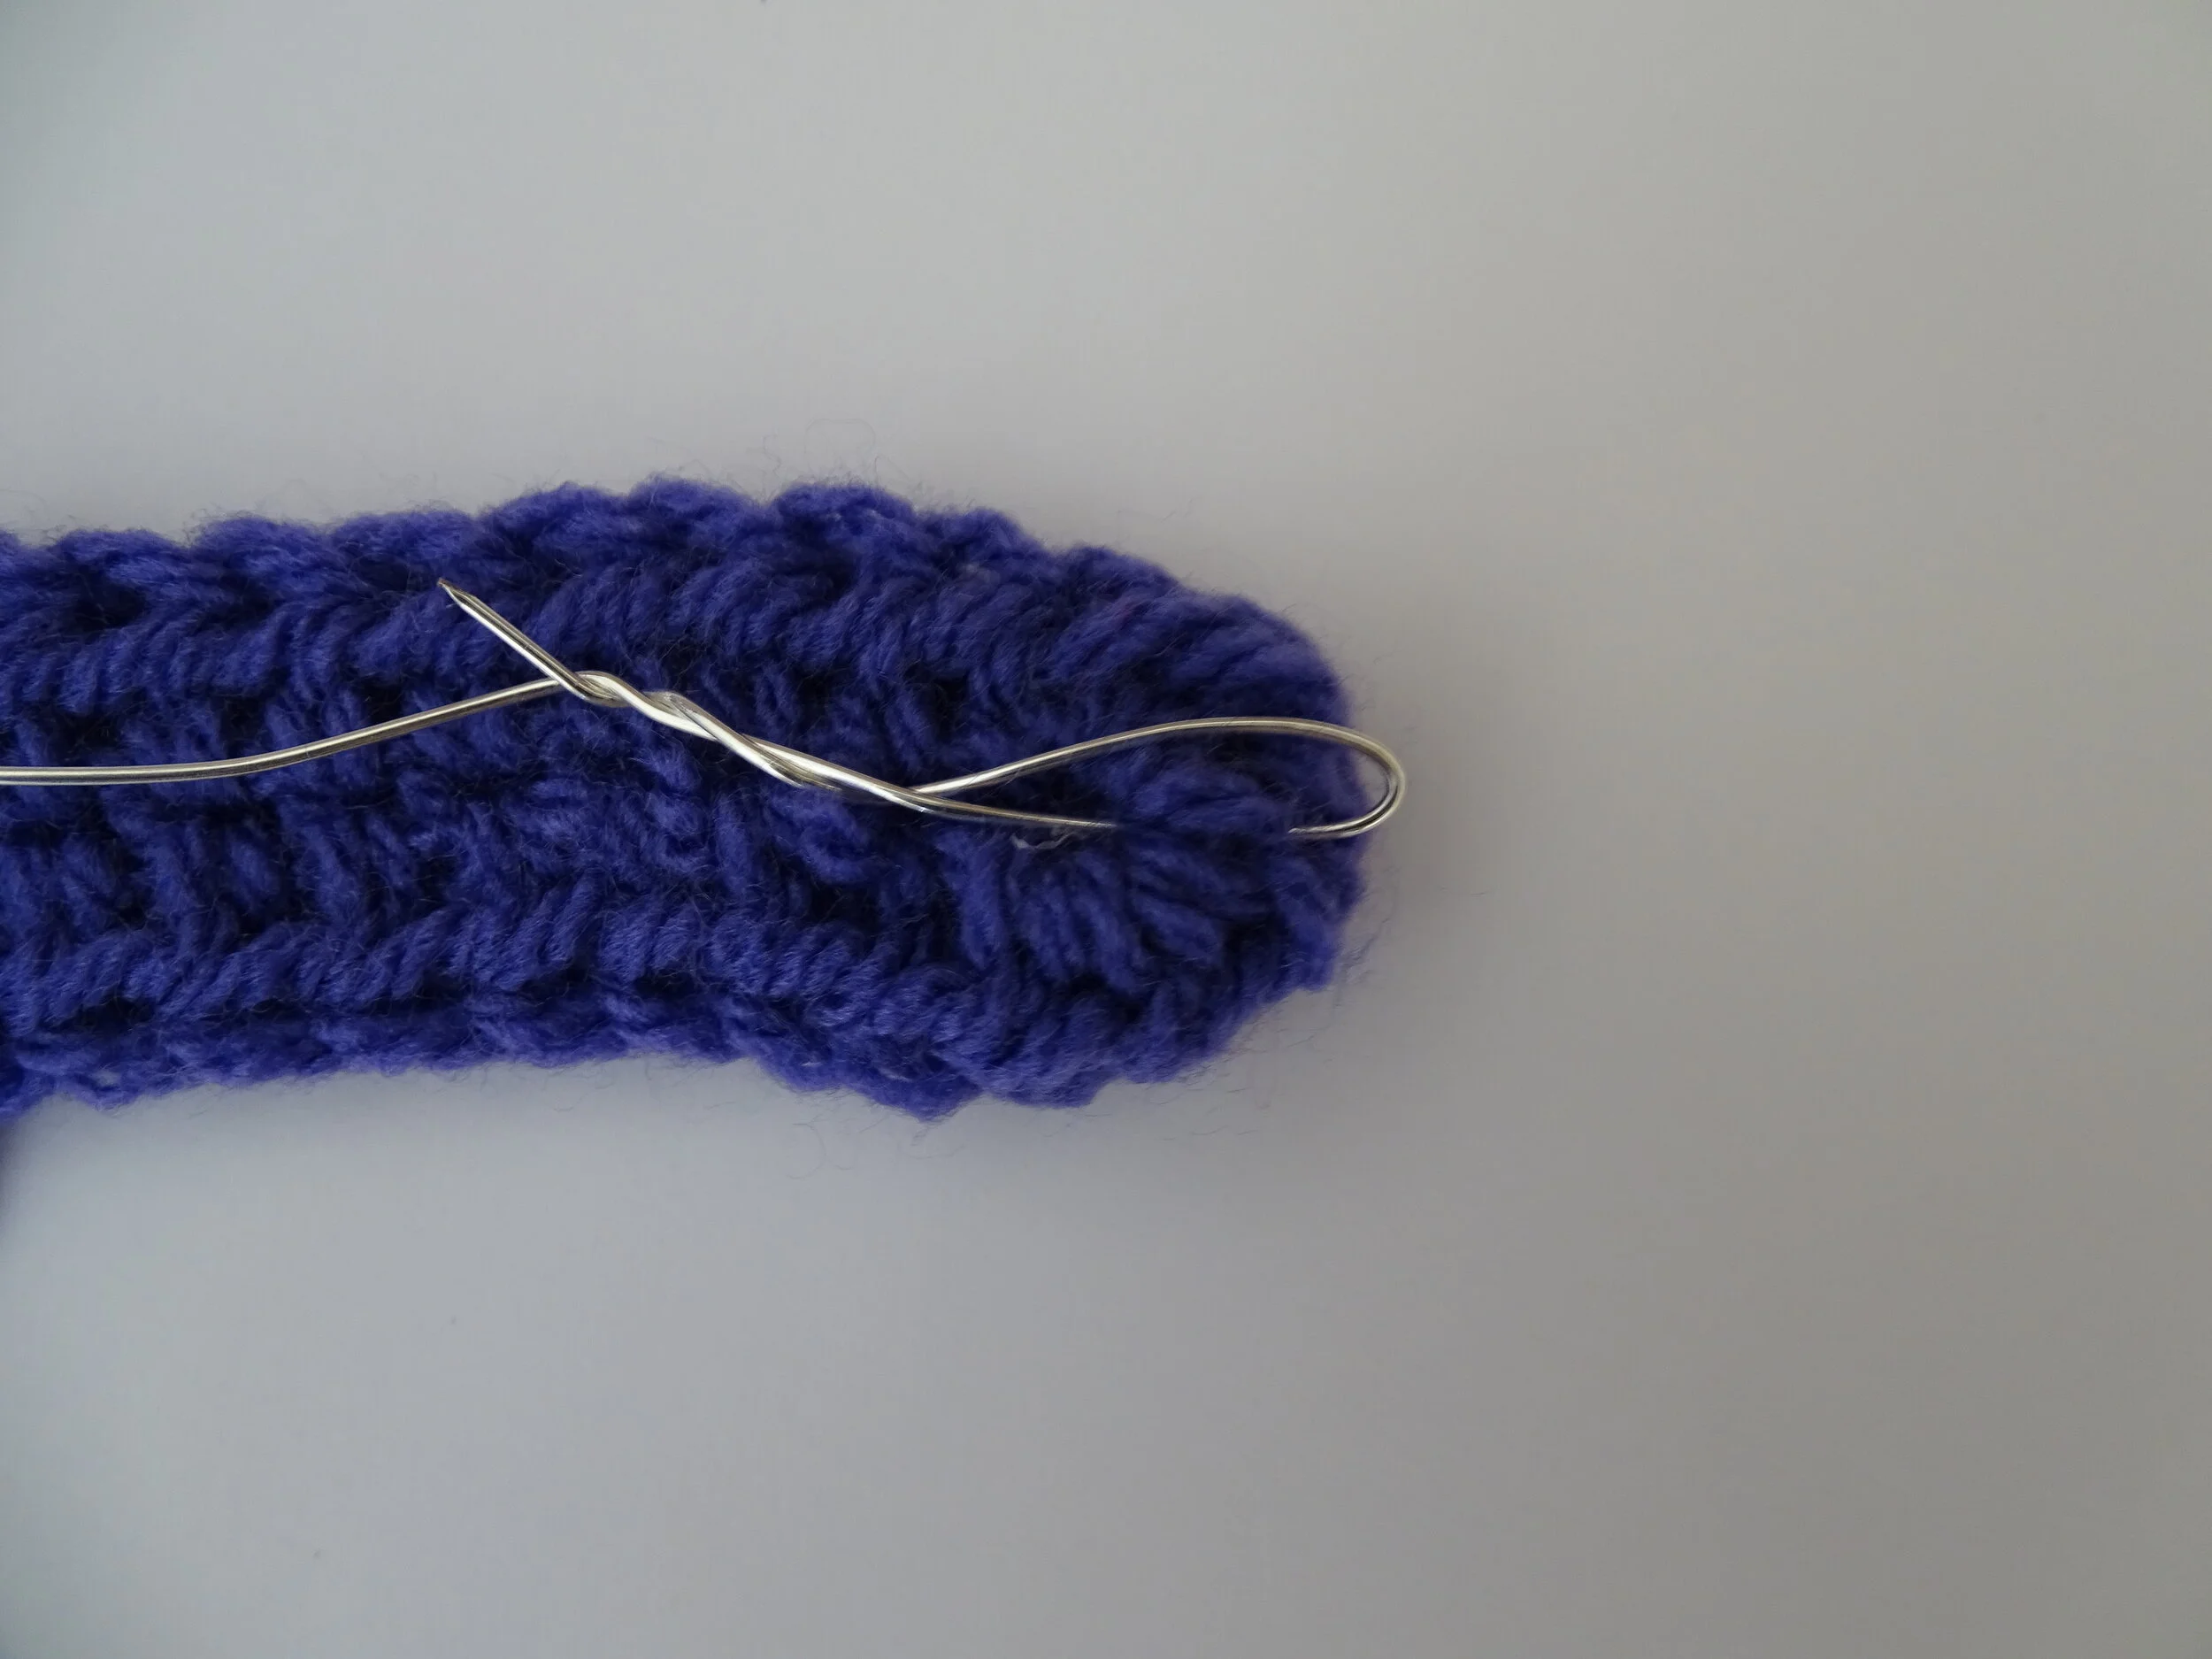
As you near the end of the tube, make sure it is not bunched up along the wire. Then cut wire to length, and secure into yarn the same way you attached it (hook into yarn and twist to secure). Finish slip stitching to end.
Cut yarn with generous tail. With the tapestry needle, loop the yarn into and around the wire to hide the wire. Do the same on the other side.
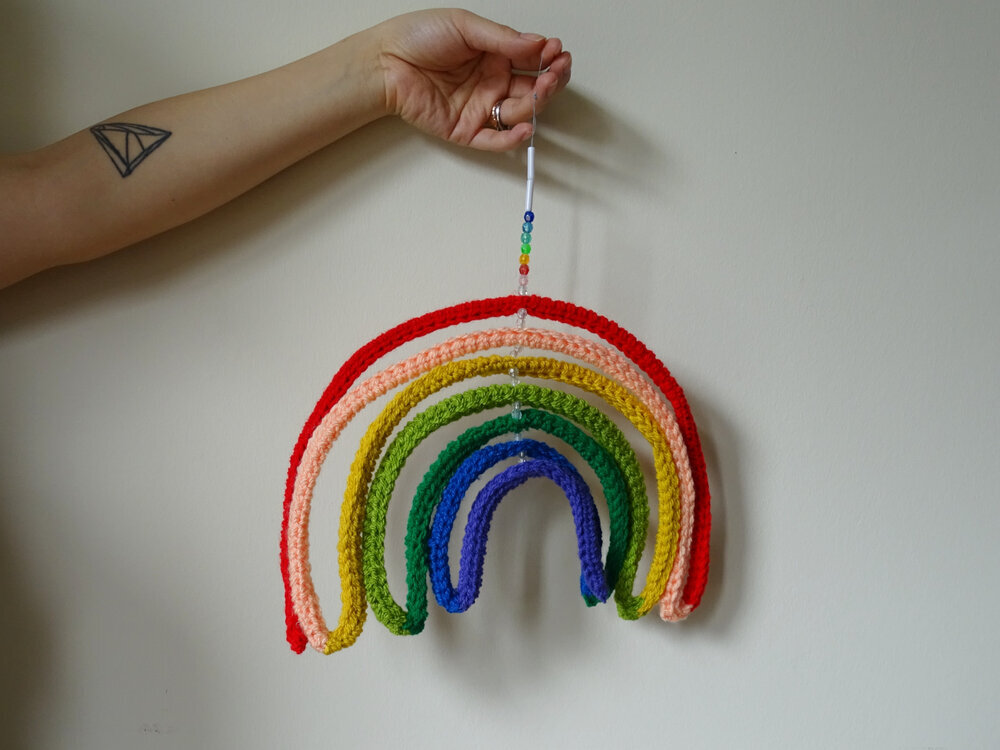
Now shape your rainbow! I found that the wire poke out at each sharp bend. Luckily you can use the yarn tails to wrap and knot around the wire to hide it. Weave in all your ends.
To help my rainbow retain its shape I used needle and thread to stitch each bend together towards the bottom of the rainbow.
Using the needle, attach and knot thread to the bottom arc of the rainbow (ideally around the wire). With thread coming out of the top of the arc, place beads. Continue feeding thread through the center of each arc and placing beads. This spaces each arc evenly. I put more beads at the top before knotting in a loop to hang.
I’d love to see your own version of the squiggle rainbow!